
Thank you very much for your nice and kind comments about publication of my Tutorial in the issue #187, 2013 of Miniatura magazine by Madelva Fernandez. I am very happy you liked it. For those, who is not subscribed for this wonderful miniature magazine that depicts the interesting work of many many miniaturists all over the world, I decided to post this Tutorial on my blog.
TUTORIAL: How To Put Dollhouse Miniature Slippers Together
You can purchase the slippers' kits at my webstore www.dollhouseneedlepoint.com, just click a button "Don't just sit there - Needlepoint" on the right hand side bar and go to the page Miniature Slippers Kits.

You will need:
- stitched slippers
- thin piece of leather
- cording of your choice
- glue
- scissors
- pencil
- thin card board
- PATIENCE!
1. Take the finished stitched pieces of slippers

2. Cut out a piece of silk gauze around the inside edges of each slipper

3. This is how it looks now

4. Cut the outside edges of each slipper in this way

5. Now your slippers look like this

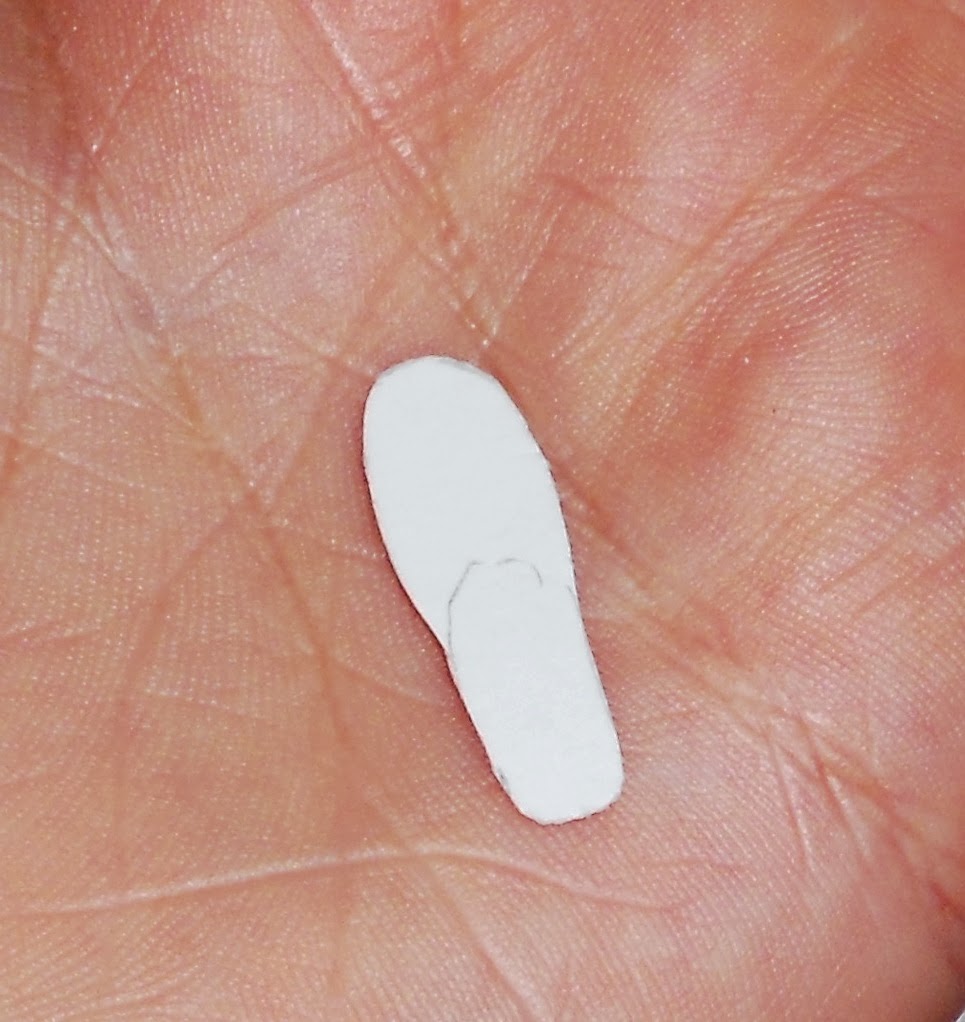
6. Let's make the soles now. Take a piece of a thin card board paper and place one of your stitched slipper on it.
With a pencil mark the heel of a slipper leaving a little access for the ends to join each other. Outline the inside edges of the slipper.

7. Do the same to indicate the front of the slipper

8. Now, when you have all your necessary marks,

9. join them,

10. and cut out the way it is shown on the picture, following the lines of inside edges you outlined on the card board.
I don't use a template for my slippers, because each pair of the slippers I finish is individual, OOAK. Anyway, you need to learn how to make and adjust the soles for your slippers or shoes if you want to learn how to make them, :)))
11. Try to fit your new sole on the stitched slipper. If you feel like it is too long or too wide, trim the sides of the sole.
12. Mark it as R (right). This marked side will be the inside bottom of your slipper

13. Cut left sole using the template of the right sole

14. Now you have 2 soles ready: Left and Right

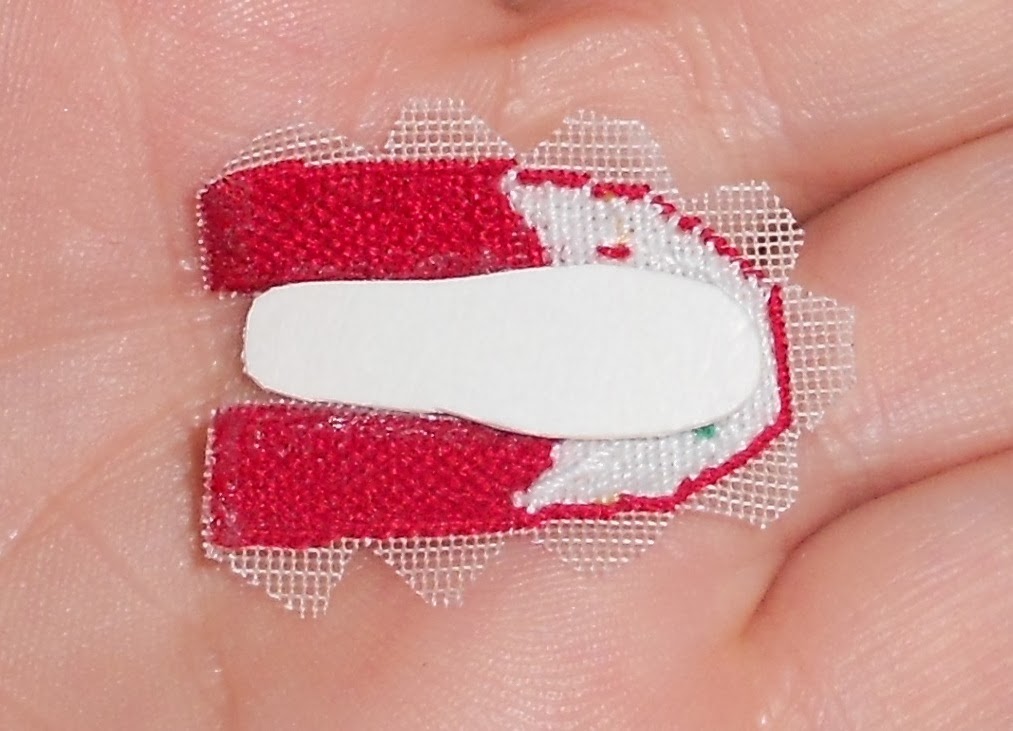
15. Take a piece of thin silk of matching color, put your soles with marks on the silk

16. and glue them to the silk. Let them dry and cut out following the edges.

17. Take the stitched slipper and the sole and glue them to each other starting with the most top, step by step. Don't apply glue on all pieces of cut silk gauze at the same time. Remember, that the white side of the sole is the outside bottom of your slipper.

18. Put dabs of glue on silk gauze and join the pieces to the bottom of the slipper.

19. Turn around and using the scissors or a wooden stick put some pressure from inside on the glued pieces. Let it dry.

20. After it dries,keep gluing all around the edges of the bottom of the sole.

21. turning around and putting some pressure from inside.

22. When you reach till the end, put these ends of the slipper together around forming the nice curve of the heel

23. Put little dabs of glue on the edges and glue the ends together

24. Your slipper now looks like this


25. Finish the second slipper the same way.

26. Prepare a thin piece of leather,

27. Place your slippers on the back side of it and glue to it. Let it dry properly.

28. After they are dried, cut the access of the leather out around each slipper with VERY sharp scissors.

29. This is how the leather bottom of your slippers looks like now.

30. Do the same to the second slipper and they are ready for the decoration

31. Put glue all around the edges of the slipper

32. and attach the cording of your choice

33. The slippers are done!

I hope you enjoyed the Tutorial. I would advice to ake the slippers with fabric first just to practice, :)))
Don't hesitate to contact me if you have any questions.
Thank you,
Natalia
18 comments:
You make it look so easy. Thanks for showing how. If I had embroidered these shoes, I would not dare to cut so close to the yarn.
One day, I will try to make some shoes, one day.
Hugs
Wyrna
Dear Natalia,
Thanks for sharing this tutorial. I'm still "struggling" with my carpet.
What a job! First to find the right needle. Then I got a knot in the thread. I have respect for your embroidery. You must have the patience of an angel.
Hugs Dorien
Un tutorial muy bueno. No necesita palabras.
Wonderful tutorial! Thank you so much for sharing. Yes, I think a lot of patience is needed :-) but it is still a fun project.
Hugs,
Lisa
Your slippers are absolutely lovely but I couldn't do this. I don't understand how you get the shape for the sole. The outline sketch shows an oval but when you cut it out it is a completely different shape.
Наталия спасибо за мастер класс!!! Тапочки очень красивые!!! Еще бы научиться вышивать))хихих ) безумно красивые у вас вышивки!!!!!
Kсаня
Wow those are absolutely beautiful! unfortunately I do not posses even a scrap of your talent with the needle.. So I will just sigh and oogle your beautiful wears!
This is a fantastic tutorial, thank you so much! The shoes are great :-)
Oh yes, I really enjoyed this tutorial, it was so well done and so well explained, thank you very much. Nevertheless I must admit that I feel some sort of relief... because my bears are always barefeeted... *teehee* I really have doubts that I would get that done, you're working miracles!
Hugs
Birgit
Wonderful tutorial.Thanks!
Greetings, Faby
Thank you for sharing!! Hannah
Fantasticas, parecen de tamaño real.
Muchisimas gracias por el tutorial.
Hi Natalia! Thank you for sharing this Wonderful tutorial!!! The instructions are Perfectly clear and very well put together! I think I will Have to make some slippers now!!!
This is very inspiring!!!
Gracias por este tutorial tan estupendo.
It's wonderful! Thank you!))))
These are so cute! I don't do needlepoint but I could see doing lace or fabric, thanks for the idea :)
Hallo Natalia!
Thank you for sharing this Wonderful tutorial!!!
Best wishes from Germany
Skiddi
que bueno!
Post a Comment